Some of the things you prepare on Mac you simply transfer to pc (language settings etc) or vice versa. But I found that the built in Deployment Tool on Windows was good enough for doing some of the preparing.
1. Prepare Omnis
Before you codesign and notarize, you have to test your application carefully. The UI has changed in Omnis 11. Field colors and window positions are not like before.
2. Application Support Folder
This differs between Mac and PC. Omnis on Windows does not have a default firstruninstall folder. I prefer to have the same setup on both platforms. Today there are 2 level of folders in Application Support. One "application folder" and one "version folder". If this is not specified, the default target is /Application Support/Omnis/ which may confuse the customers. So it is advicable to get your customized firstruninstall folder. To get your firstruninstall folder placed in the correct place on PC, you have to edit 2 resources.
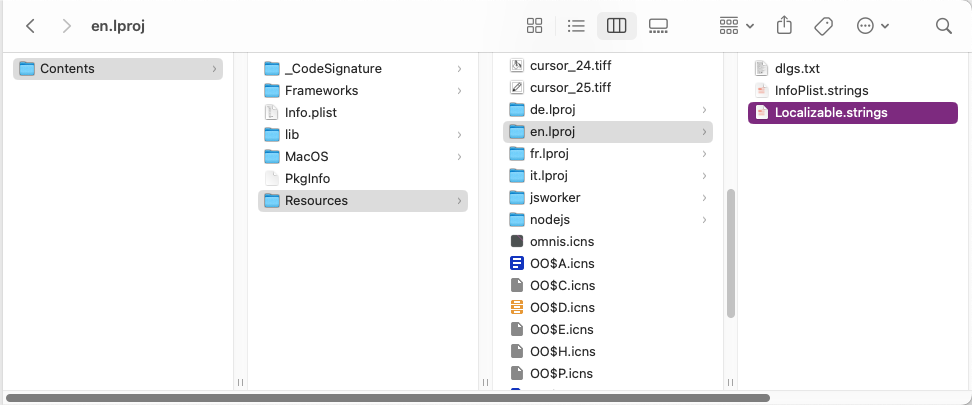
/Applications/Contents/Resources/en.lproj/Localizeable.strings
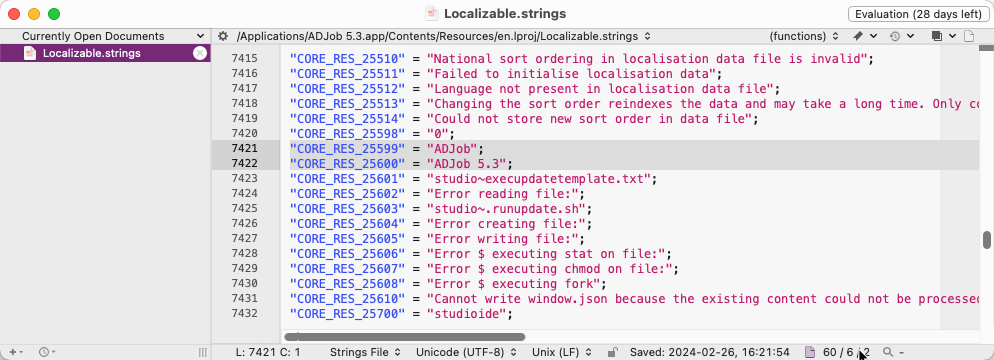
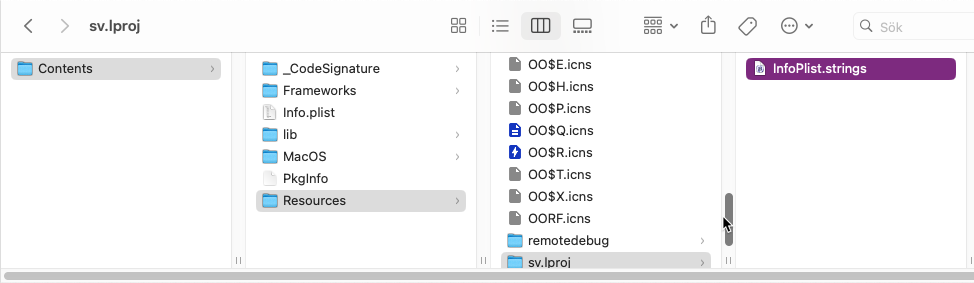
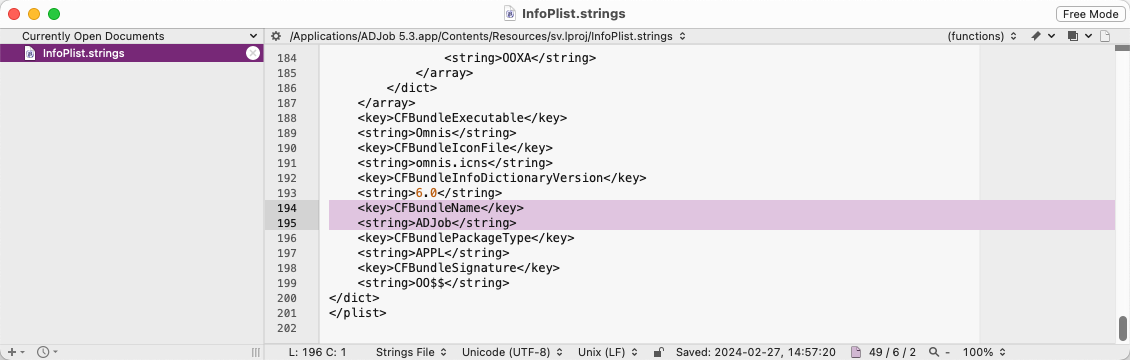
3. Set your own application name instead of Omnis
Note that you have to do this customation for every language you use. In my case I had to do this in both en.lproj and sv.lproj folder
4. Customize Omnis icon to your own icon
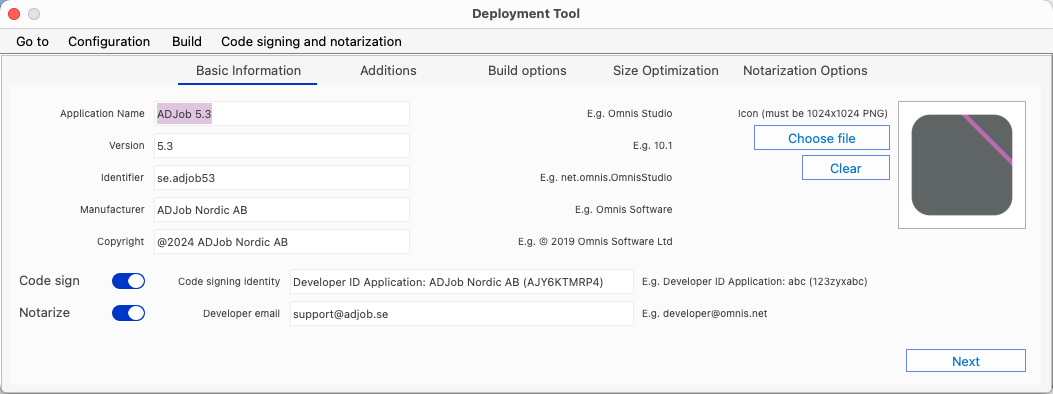
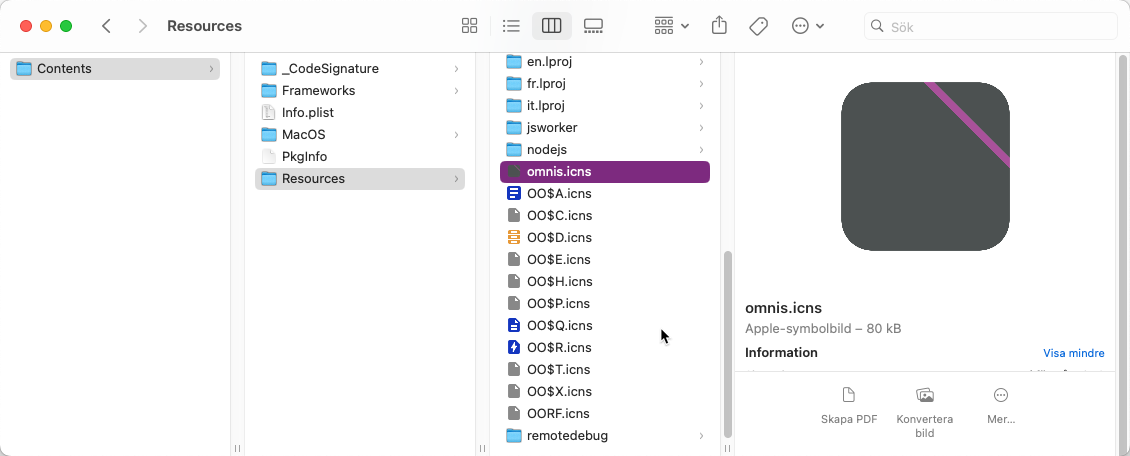
Create your icon in Photoshop and save it as 1024x1024 png and add to the Deployment Tool. Than build without notarization. You got an .icns inside the build that you can copy and paste into your runtime library. Note that Sonoma icons in Dock is a bit smaller.
And also note that this icon will maybe not change the desktop icon at once. I had to clear the cached icon by updating the MacOS in order to make the new icon appear in both the Finder and Dock.
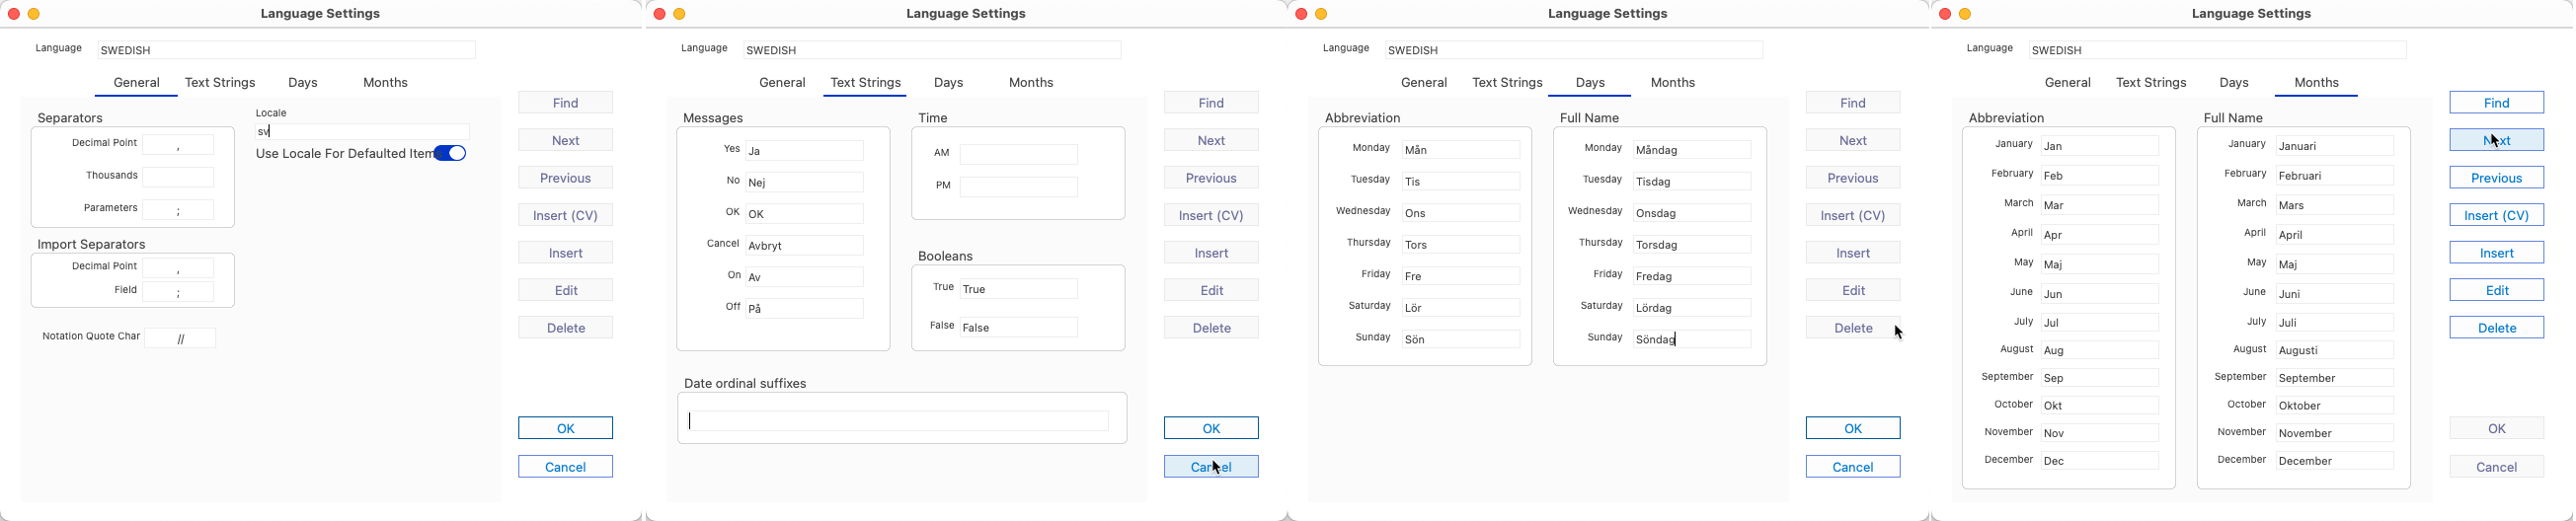
5. Localize Yes and No in your library
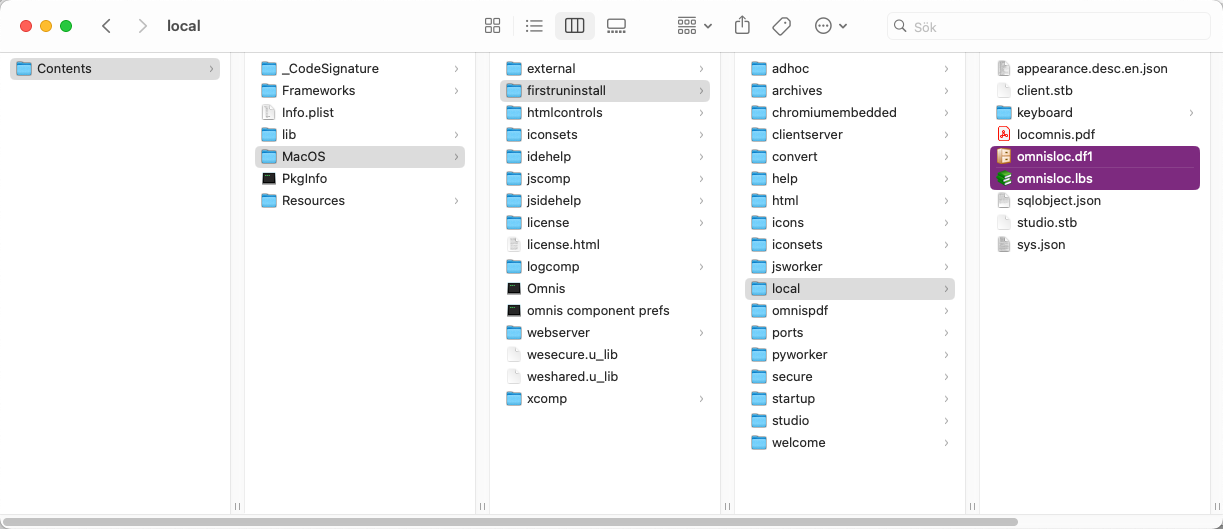
Omnis relies on that your language is present in the omnislic.df1 file. Just open omnisloc.lbs as any other library if needed add your prefered language. The data is saved within the omisloc.df1
6. Change Info message
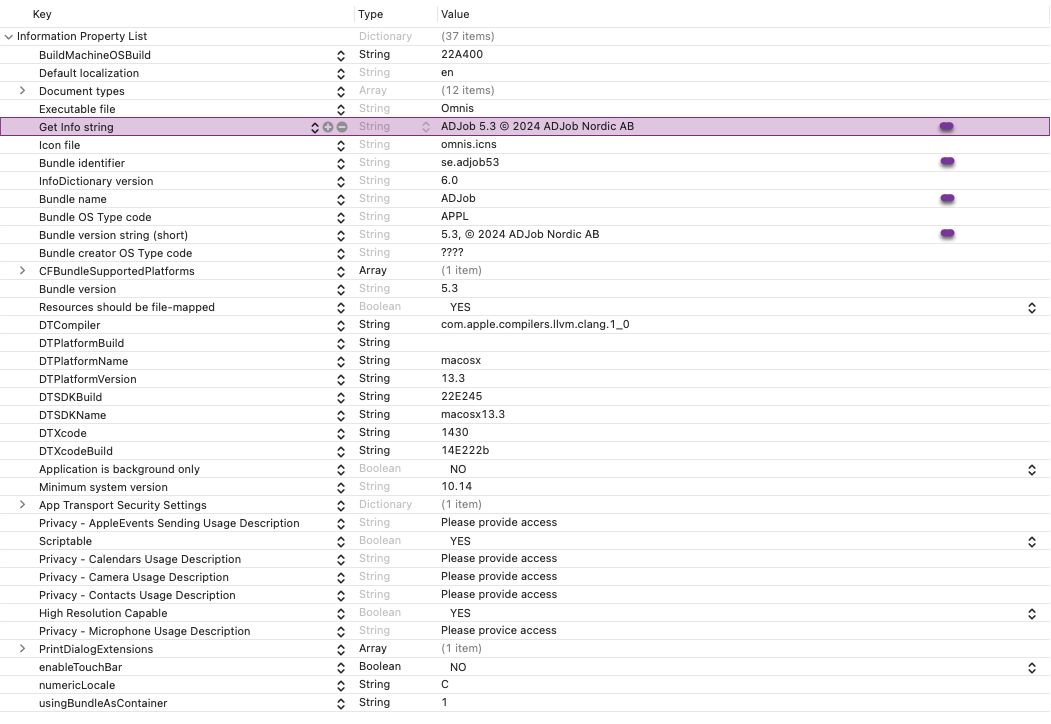
Replace Omnis in Show Info
7. Save some MB
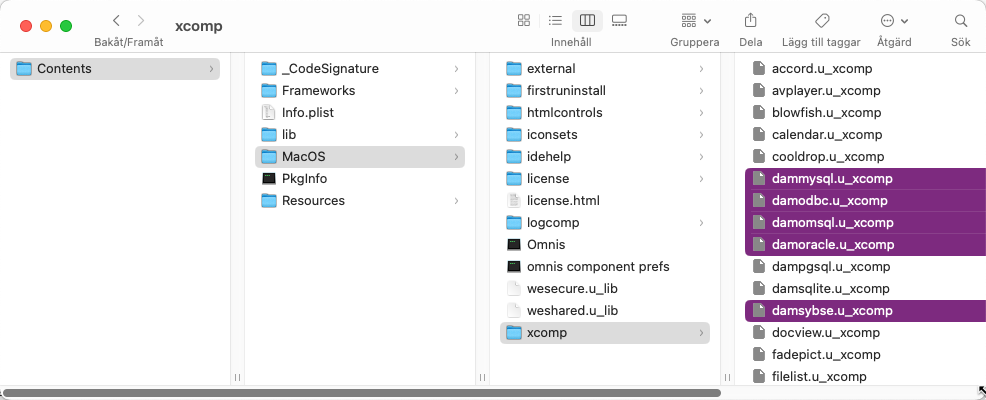
Delete database drivers that you do not use.
8. Translate the menus
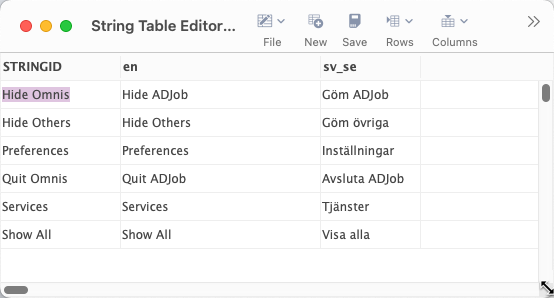
I have a mix of custom menus and Omnis menus. The custom menus are translated "automatically", but the Omnis menu have to be translated in another way. There is a built in string that you have to "translate" manually.
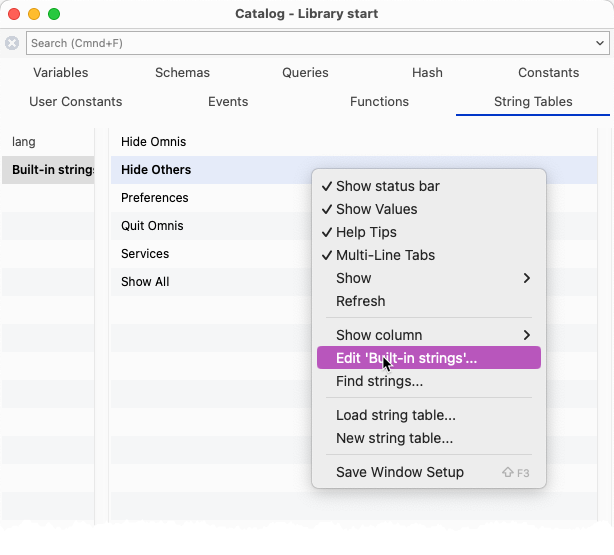
To reach this built-in string table, you use the View menu and Catalog. Note that the shortcuts does not work as default. You have to use Cmd+9 instead of F9 to open the Catalog. Press the tab "string tables" and select built-in strings. Then right click to edit string tables.
This translations are stored in /local/studio.stb. You have to copy this file from Omnis developer version to Omnis Runtime app and put this file in /Contents/MacOS/firstruninstall/local/studio.stb